Last Updated on December 3, 2021 by Danny
Are you a drummer and want to learn how to set up your own drum kit? You’ve come to the right place! This blog post will show you all of the steps involved in setting up your own drum kit. We’ll start with some basic information about drums, then we’ll talk through each step. If this is your first time setting up drums, it may take an hour or two. But after that, if you ever need help putting them away again (or even just moving them around) it should only take 10 minutes!
If we assume you already have a set of drums, then You’ll need to learn how to set up a drum kit, the right way. Which we assume you CAN’T do yet… and that is what this article intends to help you with.
Once you have unpacked your slick new drum kit, it’s time to get that baby set up. Now before you just slap everything together and start banging on the drums, make sure that you do a proper job of the initial set up.
Proper drum setup will prevent injury (such as eventual spasms and aches from over-reaching) and put you in a position to perform your level best consistently.
Parts of a Drum kit
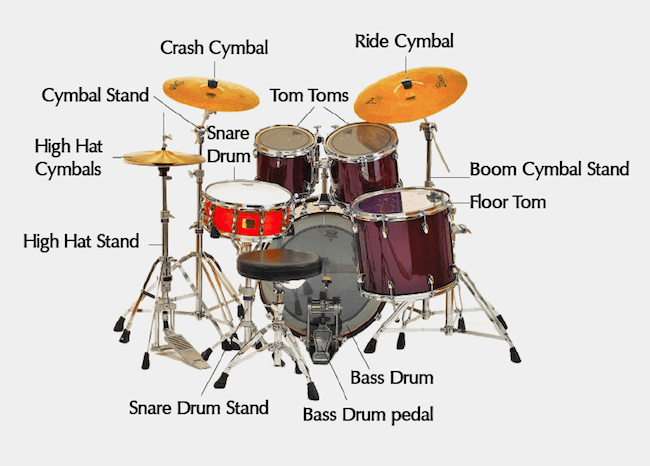
The layout and setup of a drummer’s stage will usually contain drums in three parts. Read full details about parts of a drum set.
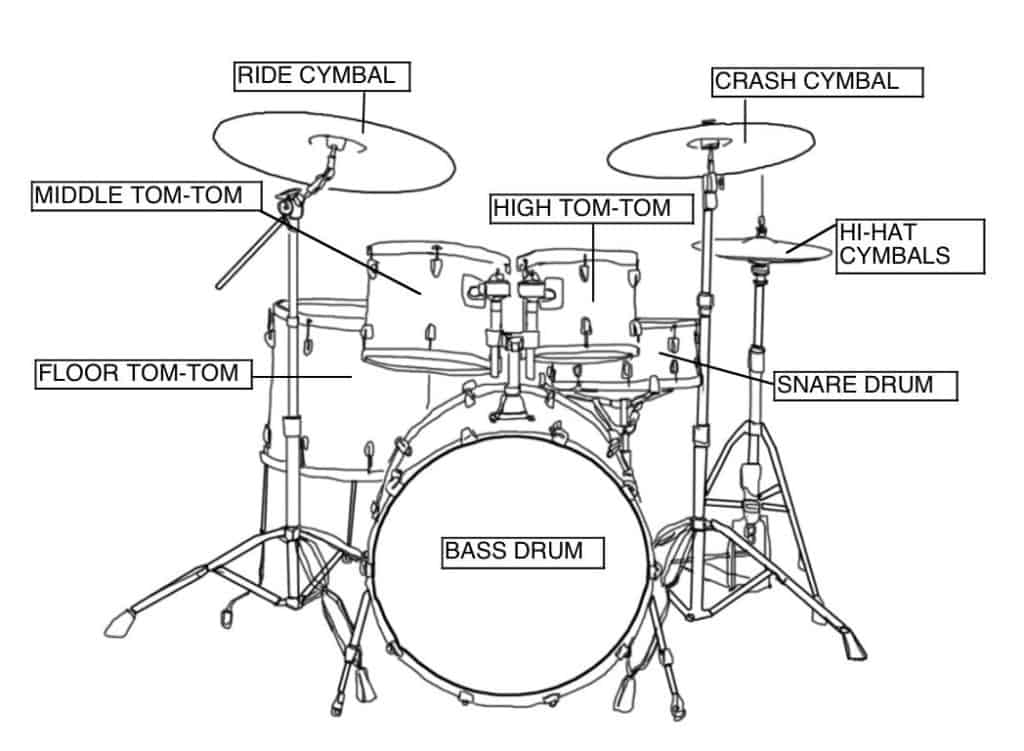
- The Drums: The bass (or kick) drum, the floor toms, rack toms, and the snare drum.
- The Cymbals: the crash cymbal, the ride cymbal, and the hi-hats.
- The Drum Hardware Which is essentially everything else that makes your kit work – the throne (chair), The cymbal stands, snare drum stand, drum key, and the bass pedal (used for playing the bass drum and hi-hats).
The most popular drum kit comprises a boomy bass drum, a floor tom, two mounted toms, and a snare drum. This is known as a 5 piece drum kit.
Usually, these drums will be placed in order by size – with the largest tom on your left, the smallest on your right, and the big daddy kick-drum in center stage.
Most rock bands use five-piece drum kits – but, often drummers will opt for smaller setups. Three-piece drum set up usually consist of a bass drum, a snare drum, and a floor tom as the 3rd drum. This is the ideal unit for intimate jazz-gigs!
Basics of Drum Set-up
Before you start with setup and placement of your drum kit, keep a few things in mind: Firstly, and most importantly – make sure that your drum layout will STAY where you put it.
If you are playing on tiles, hardwood floors, or any other slippery surface, you might want to invest in the best drum rug. A drum rug will keep your stands and the drums themselves from moving about while you play.
Now, it would be impossible for anyone to explain the most minute and intricate details of the set-up process of every drum to you. Manufacturers differ.
Innovative designers come up with new tightening screws, different pedal clutches and stand adjustment options ALL the time – so, please use this as a guide, but refer to the manufacturer of your drum kit’s user manual/assembly instructions as you go along.
MOST drums will assemble easily, with wing nuts that loosen and tighten to adjust the height and tighten the legs (like for the kick drum). Most mounted drums slot or slide into grooves stands or mounting brackets.
If you use a methodical approach, you should have your drum kit set up in no time at all. It’s easy as pie!
The Right Way to Set up a Drum Kit
In this article, we’ll focus on showing you how to set up a 5-piece acoustic drum kit. You should note that the RIGHT way isn’t always the PERFECT way – and finding YOUR perfect set up is up to YOU. Every drummer ends up making small adjustments to a standard setup, to make playing as easy and natural as possible.
1. Setting up the Throne/Stool, your highness
The first step of proper drum kit set up involves the stool you will sit on – the drum throne. This round chair usually adjusts with a wing nut located at the bottom.
So, simply loosen the nut, spread the tri-legs, and tighten it again. You can adjust the height of the drum throne by adjusting the height adjustment rod – simply loosen the nut below the seat and lift it up or down.
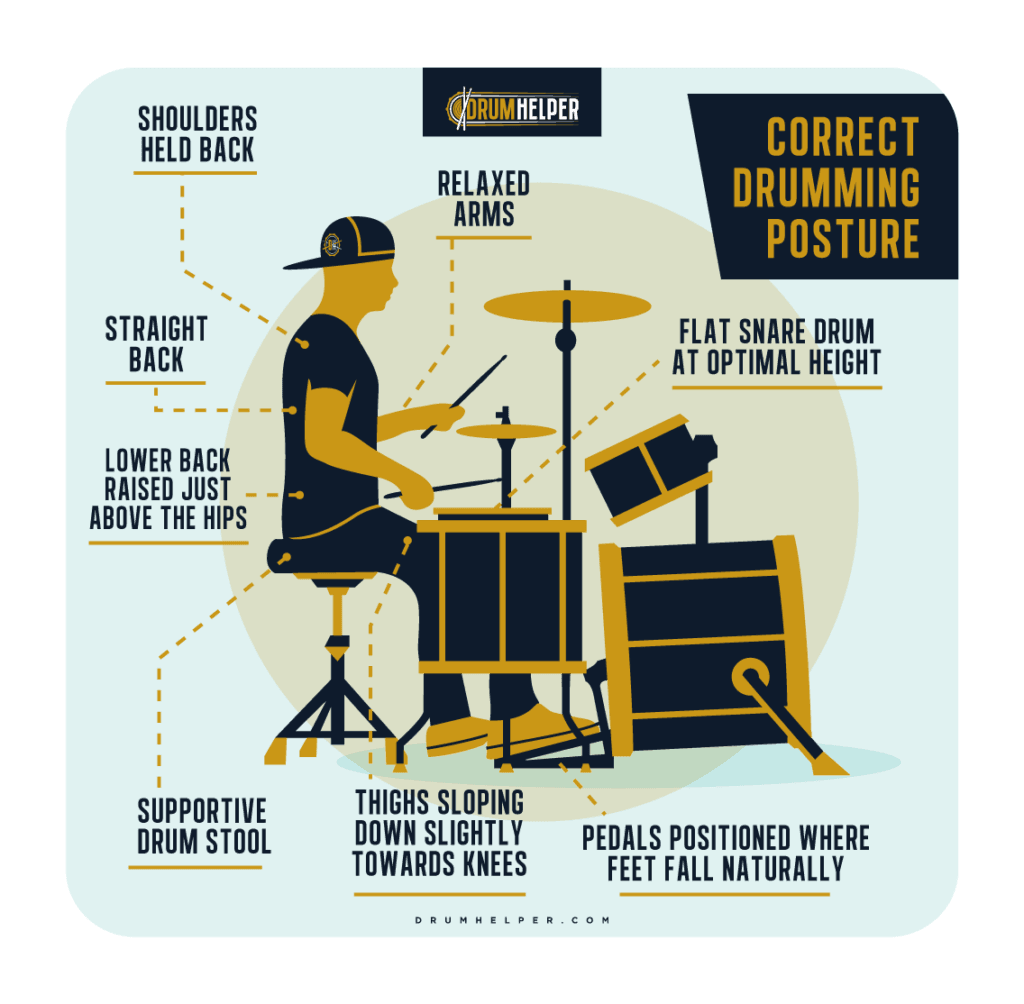
The throne is the foundation of the drum kit set up. You will reign the rhythm section from here and spend a lot of time on it – so, make sure you’re comfortable.
Your thighs should be higher than your knees, and you should be in a natural sitting position with both your feet flat on the ground, spread slightly.
Always make sure that one of the three legs of the drum stool points behind you. This will prevent you from falling backward if you ever get carried away by the music.
2. How to set up the bass drum
Get yourself something to kick at!

The next step sees you setting up the star of the show: The bass drum. This is one of the easier drums to set up – you simply attach the two metal legs into the holes on either side of the drum, and tighten the brackets to hold them in place.
Some drum sets have pre-attached legs, that you simply slide out by loosening and tightening a screw.
Whichever it is, make sure that the bass drum legs are extended all the way, and that both legs touch the ground before you tighten them. The bass drum should be angled slightly backward to better absorb the impact of the kick pedal.
Make sure that the outer drum heads with the brand name is pointing away from where you are sitting.
The last part of drum configuration that you’ll need to do – as far as the bass drum is concerned – is to attach the bass drum pedal.
First, make sure that the amount of tension on the foot pedal is right for you by adjusting the tightness with the spring located on the right side of the pedal. It shouldn’t be hard to press down on (with your foot) and it shouldn’t be too jumpy and soft.
Much is left to player’s preference, so play around with it a bit until you are comfortable. When you are, attach the bass drum pedal to the bass drum hoop, and place it in front of the drum where your right foot is (or your left, if you are left-footed).
3. Snare drum setup
Put all your eggs – or snares – in one basket.
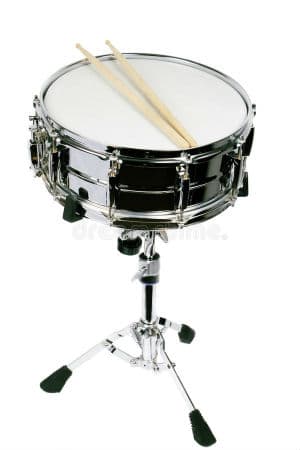
The Snare drum fits into its snare stand, which is known as the basket. It has its own adjustment nuts, which you can use to adjust the height to where it feels comfortable. Before you do so, first spread the tripod legs, and lock it in place with the bottom nut.
Now adjust the height off the snare stand, and lastly open the “basket” to place the snare drum in. REMEMBER to lock the basket in position with the angle adjustment nut once you are happy with its position!
The snare drum should be stationed between your legs, slightly away from the kick pedal of the bass drum. When it comes to the exact angle and position that the snare should be placed with, the jury’s out as to the ‘correct way’.
There are three options here – either tilting the drum head away from you, towards you or making it level.
Find the position that best suits your playing position and style – just make sure that you can access the entire drum head, and that you can easily reach both the center and rim of the drum. The snare is a versatile instrument, and you don’t want to run out of rope when it’s showtime!
4. Time for the Rack Toms
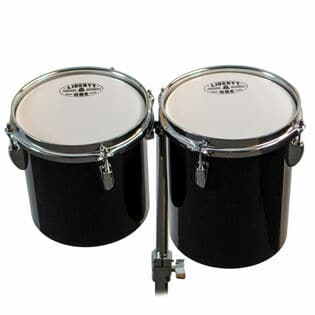
The High- and Mid toms are usually mounted over the bass drum, using special tom arms(which should be supplied with your drum kit). Simply slide the tom arms into the mounting bracket on top of the bass drum, and tighten the wingnut so that the arm is securely fastened.
Slide both the mounted toms (high and mid) onto the tom arms using the brackets at its side, and tighten them down. The small tom should be on the left, and the bigger one on the right.
You’re at liberty to position both toms in a position that suits you, but, make sure that the toms are slightly angled towards you for ease of play.
5. Floor Tom
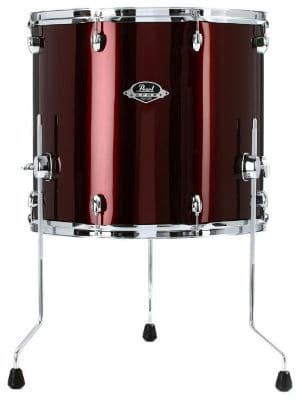
The last drum of your five-piece kit is the floor tom.
The floor tom – like the bass drum, has its own legs. Either insert them into their brackets and tighten them down or slide them out (depending on how your floor tom was manufactured).
Make sure that the floor tom legs feet are facing outward to prevent the drum from falling over when you get too enthusiastic to play it.
The Floor tom should be set at the same height as the snare drum and placed to the right of your drum stool.
Now You know how to set up a 5 piece drum kit. But… it’s time for us to add some bling.
Set up the hi-hat
The hi-hat stand should be raised and locked in a stable position with its wing nut. We recommend placing the hi-hat stand while you are seated on the drum stool – simply so that you are in the position you will be in when you play.
This is the only way to be sure that your drum set positioning will be on par and comfortable for YOU.
The hi-hat stand with a clutch that secures the top cymbal to the rod. Most hi-hat cymbals are clearly marked as “TOP” and “BOTTOM” to make installation easier – so simply install them using these indications.
Make sure that your hi-hat cymbals are at least 7-8 inches higher than the snare drum, and that the pedal operating the clutch is in a place where your left foot will comfortably reach it.
Crash and Ride cymbals
The last step in the ultimate drum kit set up
To complete your set up, install the crash crash cymbals and ride cymbals onto cymbal stand. By now, you will be familiar with raising the stand legs and locking the cymbal stands in position with its wing nuts.
The ride cymbal should be to your right (just higher than the floor tom), and the crash cymbal to your left.
Take a look at some of the best crash cymbal
Universal tips for adjusting height and distance to make your set more comfortable:
As a drummer, one of the most important things you should focus on is comfort. Many drummers overlook comfort when they set their drums up initially – to their own detriment.
Sitting in the wrong position, constantly over-reaching and not making full use of your arms’ range of motion can leave you exposed to injury – and, it will inevitably impact your playing too.
How do you set up a comfort and efficiency drum kit?
Here are a few tips – in no particular order – on improving your level of comfort as a drummer:
- Wherever your feet naturally lands when you sit down on the throne the first time is where you should put the pedals. Some schools of thought recommend that you mark these spots with tape, and place the kick drum and hi-hat pedals there during your initial set up process.
- Speaking of the drum throne, sitting on the edge of the stool will allow your legs to move freely. Keeping your back straight will offer you a wider range of motion (in both reaching and playing the toms, snare, cymbals etc.)
- Pay attention to the angles of all the cymbals and drums: They should be set up with more or less the same angle, pointing towards you. Having a universal “playing angle” will economize the amount of motion – and exertion – your fingers, wrists, and arms will exert.
- The ride cymbal should be at YOUR shoulder height.
- The snare drum should be set up at the same height as YOUR belly button.
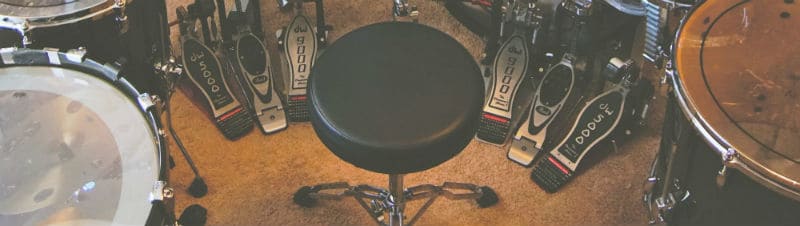
- Footwork. This is an intricate, albeit important adjustment to make: The depression angle of your hi-hat pedal and the kick drum pedal should be the same. To get this right, depress the kick drum pedal all the way. Unclamp the hi-hat clutch, and press on the hi-hat pedal until it matches the angle of the kick drum pedal. Tighten the hi-hat clutch, and do a few test-kicks… Your ankles should be at the same angles when both pedals are depressed.
- When setting up a 5 piece or bigger kit, many drummers rate having exact measurements would make the process easier. But, our arms and legs aren’t the same lengths. Our hands aren’t the same sizes. The best way to practice placement – as far as distances between the drums are concerned – is to practice setting up and tearing down your drum kit a few times.
Lastly, let’s talk about ergonomics. KEEP ERGONOMICS IN MIND when you do place your drums in front of you! Don’t try to look good, or replicate crazy angles that you see other drummers doing. Your set, your rules, your set up, your ergonomics.
Conclusion
You’re now ready to rock and roll, and that’s all there is to it. Doing a proper drum kit set up is something that you will get better at the more you do it. May you be ever comfortable behind your set of drums, and may your beaters keep in time and clap out the rhythm. Happy playing!